finally, a classic smoky eye tutorial that works for my down-turned, hooded eyes
compared to my lifestyle blogging peers, i am fairly new to “makeup,” but i’ve been having lots of fun with it over the quarantine, both by putting it on and also watching how other folks put it on. it’s truly an art form and a great medium for creative expression. but there are so many different kinds of faces that it's hard to find an eye look that works for me.
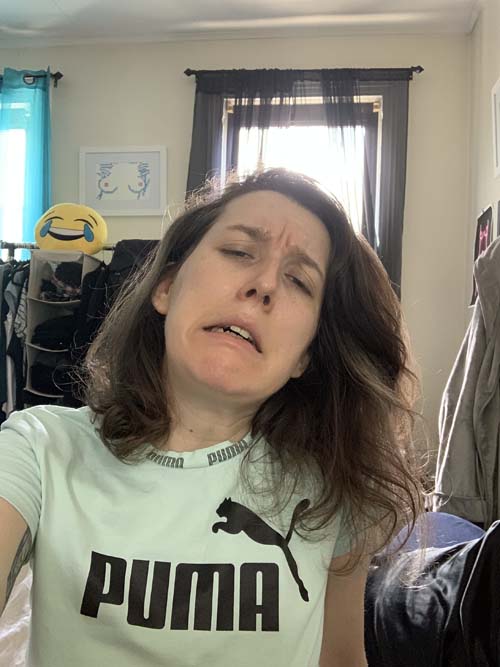
i have down-turned eyes which are kind of hooded. little boys with big typing hands often comment on videos of my conference talks remarking how i look high, which by the wayyyy i’ve never done a conference talk while high, only hung-over. anyway i love my eyes. they are sunken in, i know, but they’re not yours, they are my own. it’s just hard as hell to do a classic smoky eye!
after minutes of searching this weekend, though, i finally found a tutorial for a smoky eye that not only works for my eyes, but i think would be universally flattering on everyone who tries it. i’ll show you how it’s done.
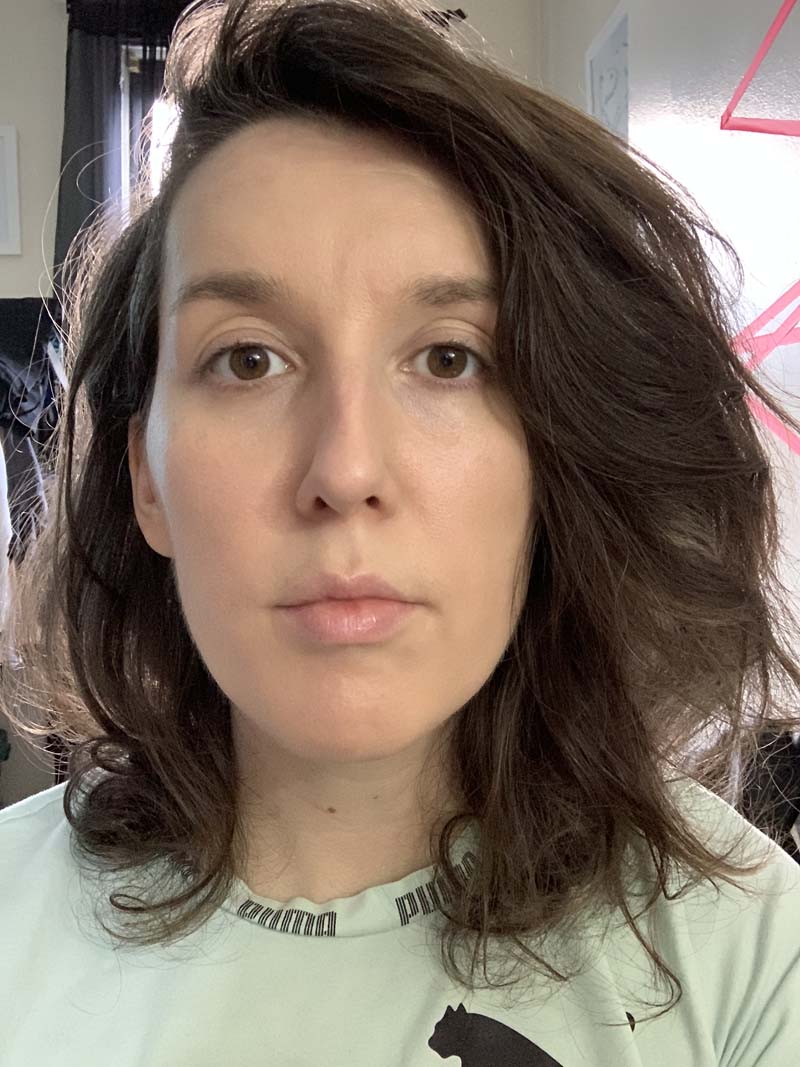
step one: start with a clean face
after i went out for an iced coffee, i came home and washed my face and did my usual morning serums and moisturizer. i’ll talk about my skincare regime in a future post, as i’m still experimenting. half of the reason i am glowing here is because i was still sweating (it’s like 95 F here)
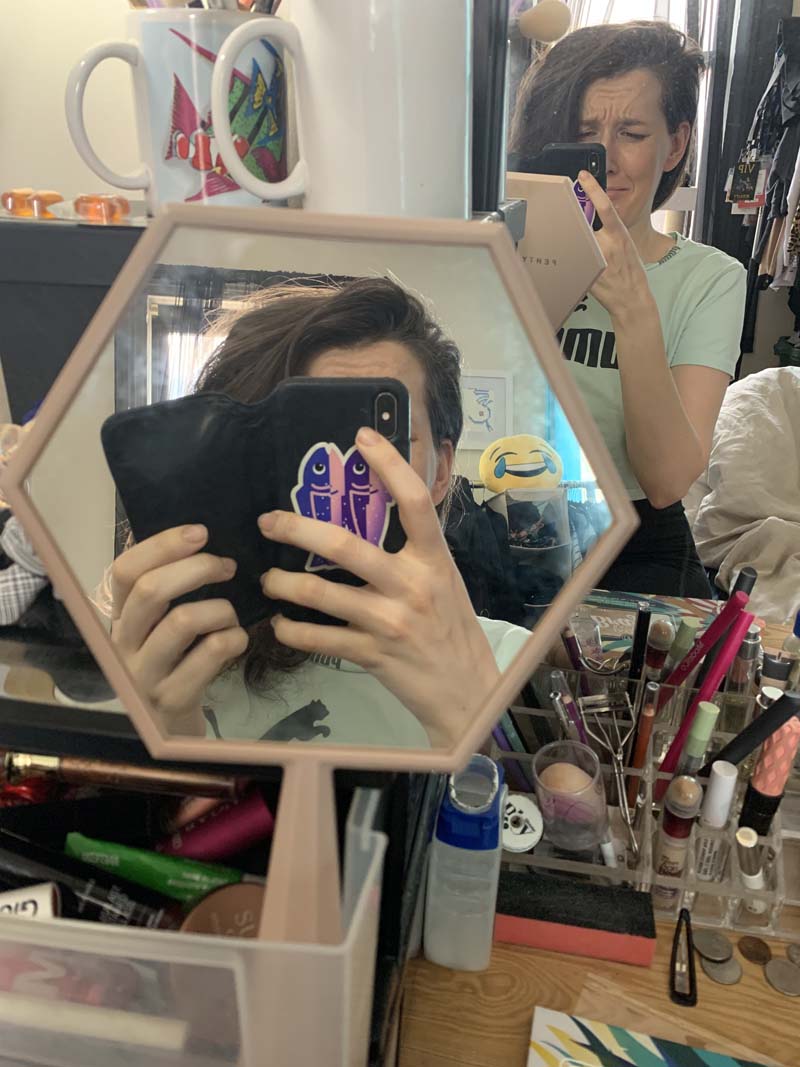
by the way, welcome to my bedroom. i recently moved my workout clothes dresser, which doubles as my vanity, into here. this makeup tutorial is chaotic because taking photos and holding a mirror at the same time is impossible, but i figured out how to get around that:
step two: lay the foundation of your face
this is my daily “foundation” which doesn’t actually include foundation. i use the tarte bb tinted primer, spot conceal with the kosas revealer concealer if necessary, and then use the supergoop daily correct cc cream (i try to get as much spf into my skincare as possible).
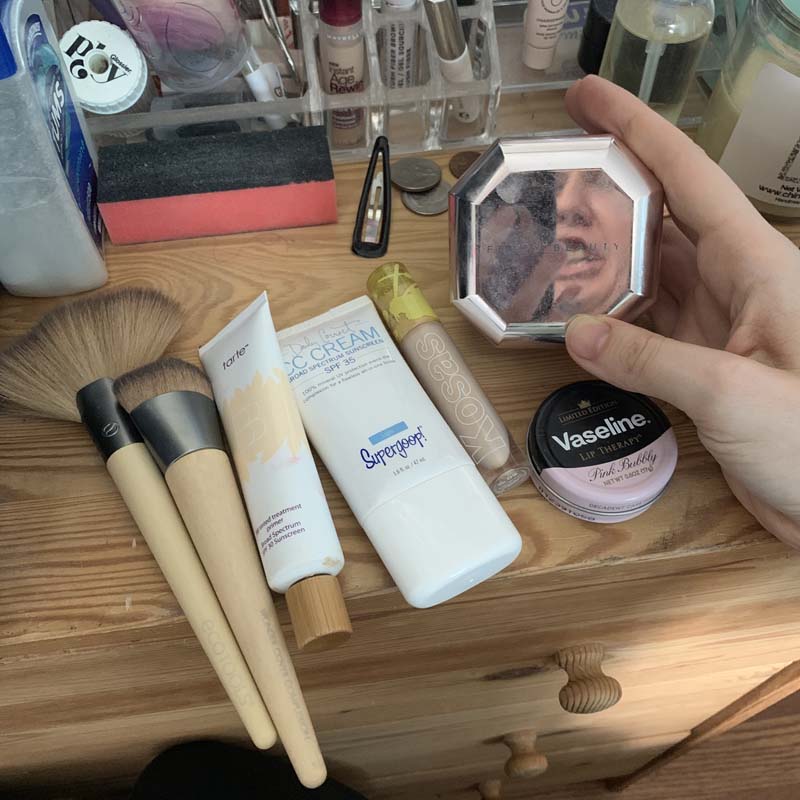
i set the face with the fenty instant setting powder in lavender and apply some lip gloss. for this eye look, i don’t need to worry about concealing my under-eye circles or brushing my eyebrows, but i do usually do that daily. i don’t know how to contour, or drive a car.
here’s my face, ready for smoky eyes:
step 3: draw on the smoky eyes
the tutorial says to use black grease paint, but i didn’t have any, so i primed the eyes and used black eyeliner to circle the eyes and draw them in.

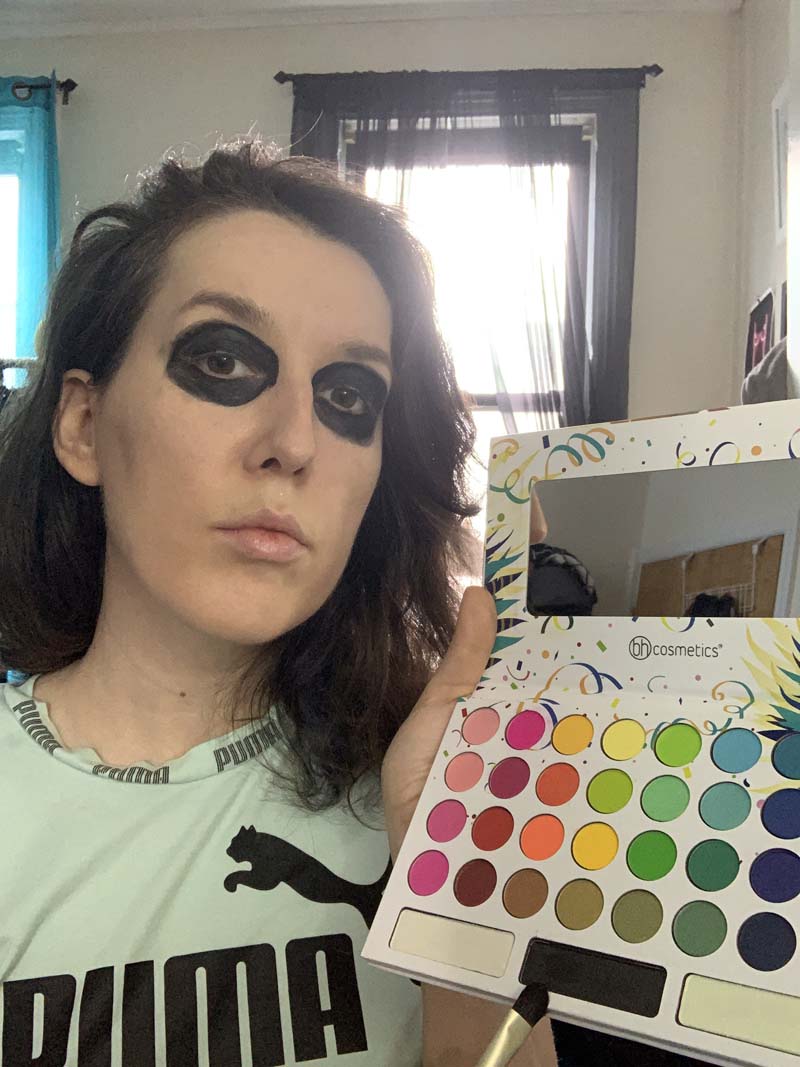
to fill it in and get a really rich, smoky look i set the eyeliner with the black from this bh cosmetics take me back to brazil palette that i bought in berlin last year.
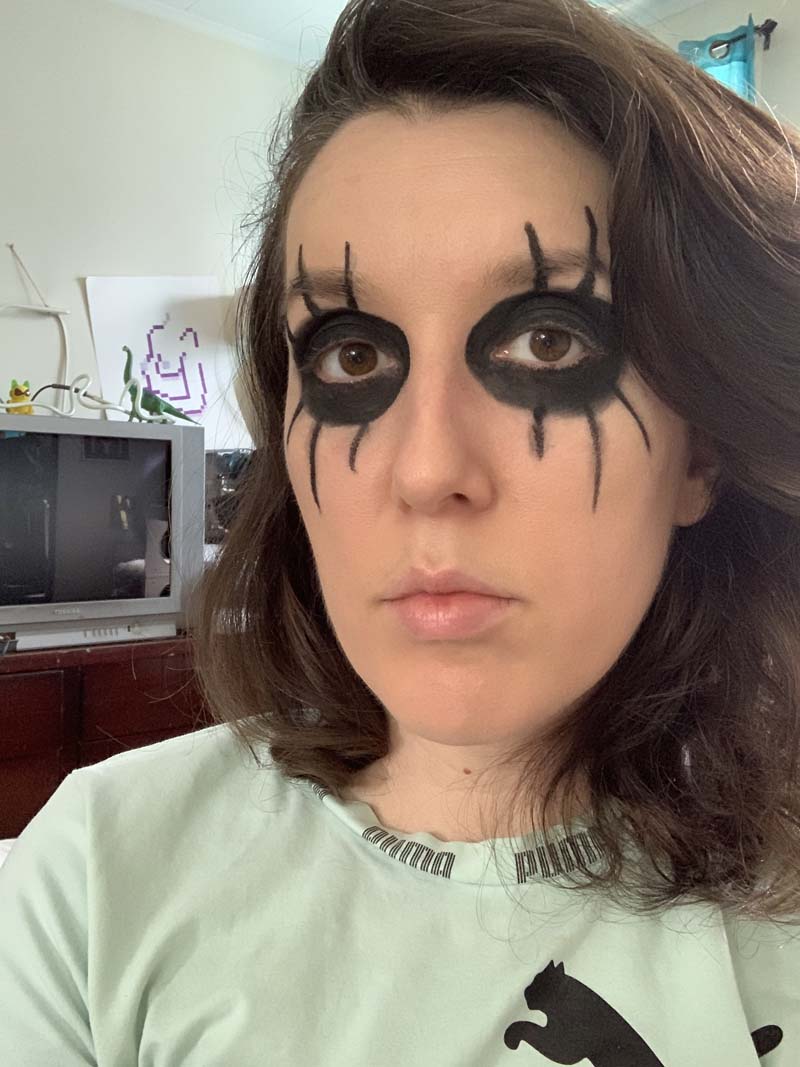
then i went back to the eyeliner to draw lines coming out of my eyes. i feel like this draws attention to both the eyes and my cheekbones.
step 4: line the mouth
in order to pull off a dramatic smoky eye, you really need to balance the rest of the makeup you use. i’m not going to put anything on my lips except a clear balm, but i’m going to balance that with some lines coming down from the corners of my lips. this wasn’t my idea, i got it from the same tutorial.

step 5: finish the look with a setting spray and see what the cat thinks
i use supergoop’s defense refresh (re)setting mist to set the look (and throughout the day to refresh my spf). then i wake up pumagreg from his sun-soaking nap to see what he thinks.
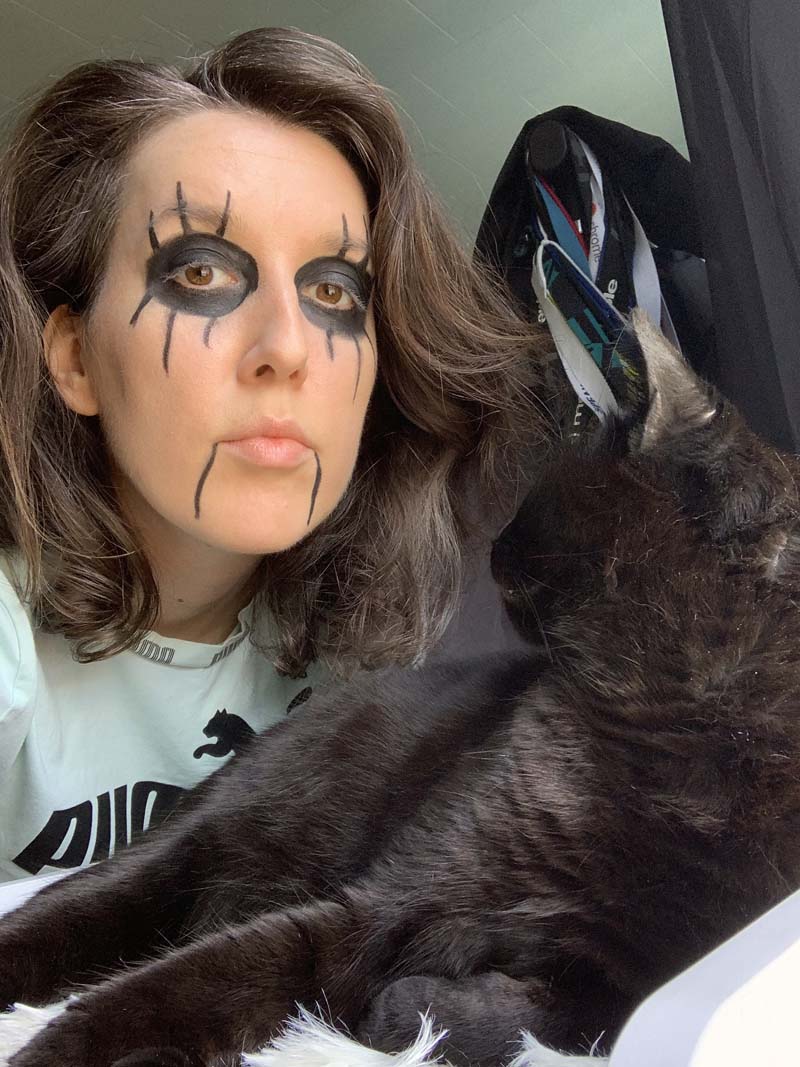
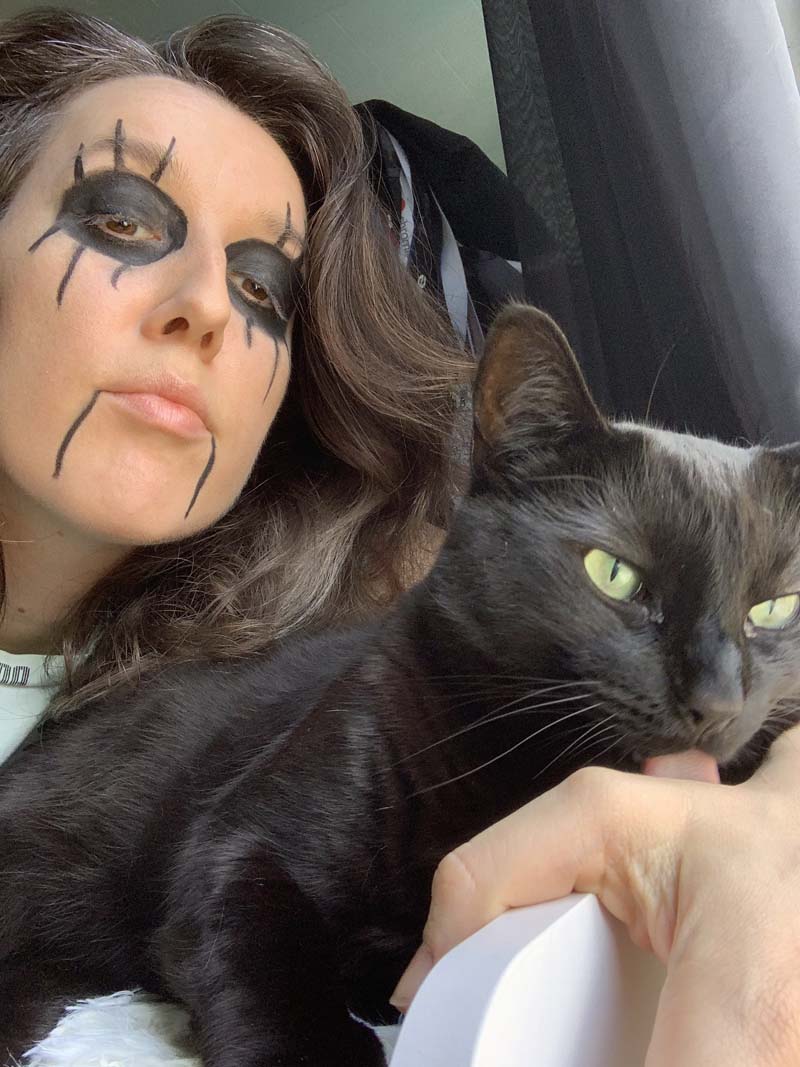
pumagreg approves.
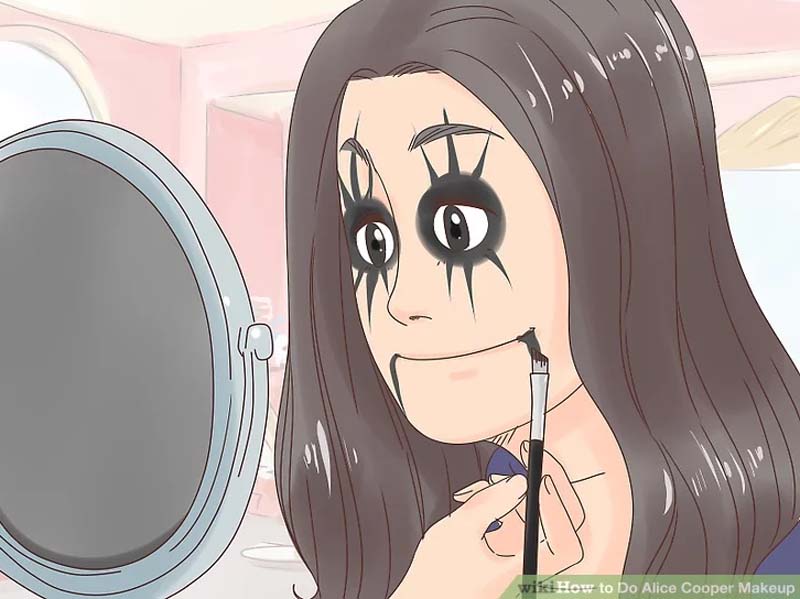
i really like how this look came out, and the lip lining kept up really well after i ate some roasted broccoli and chickpeas for lunch. if you want to try this look out for yourself, you can find the original tutorial here on wikihow. i would love to see how it turns out for you!
xoxo j